Description
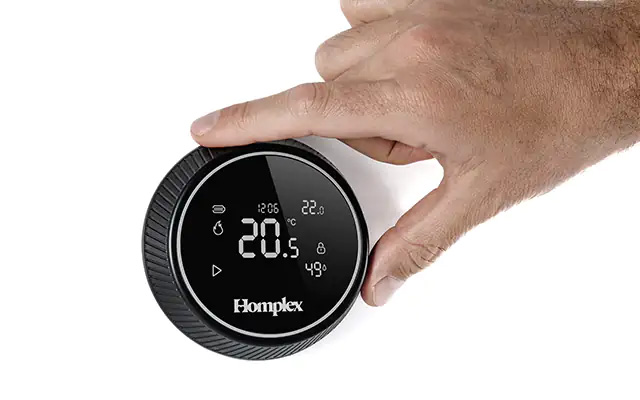
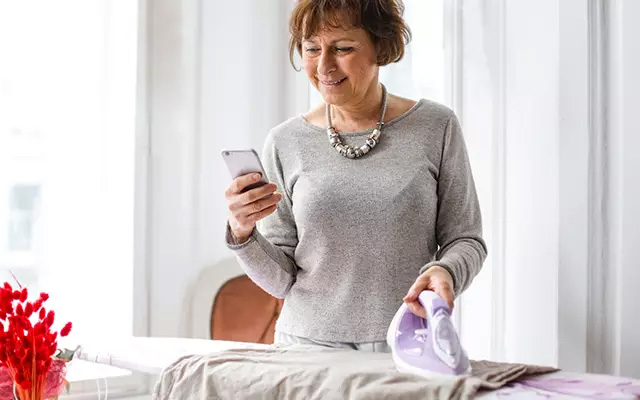
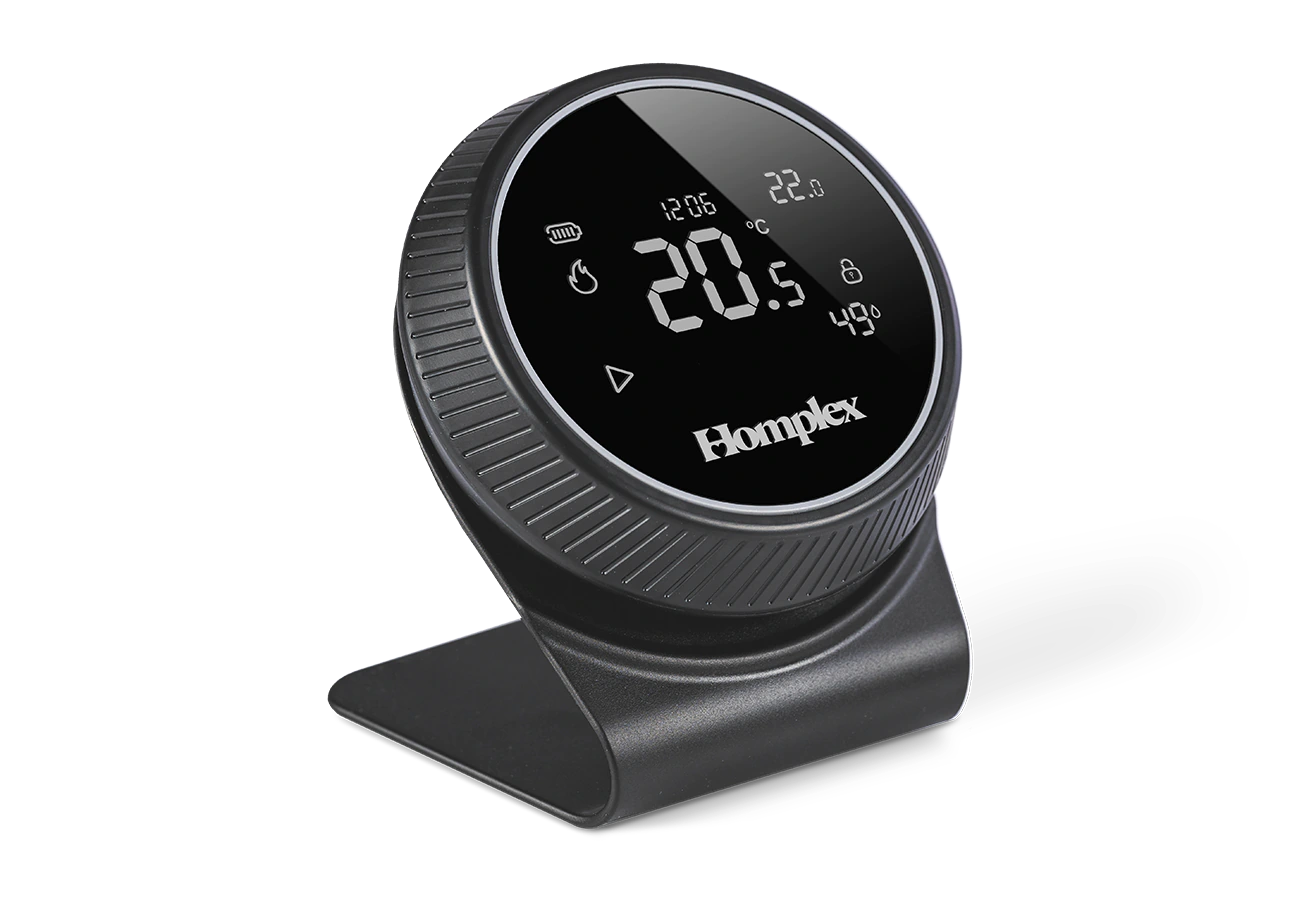
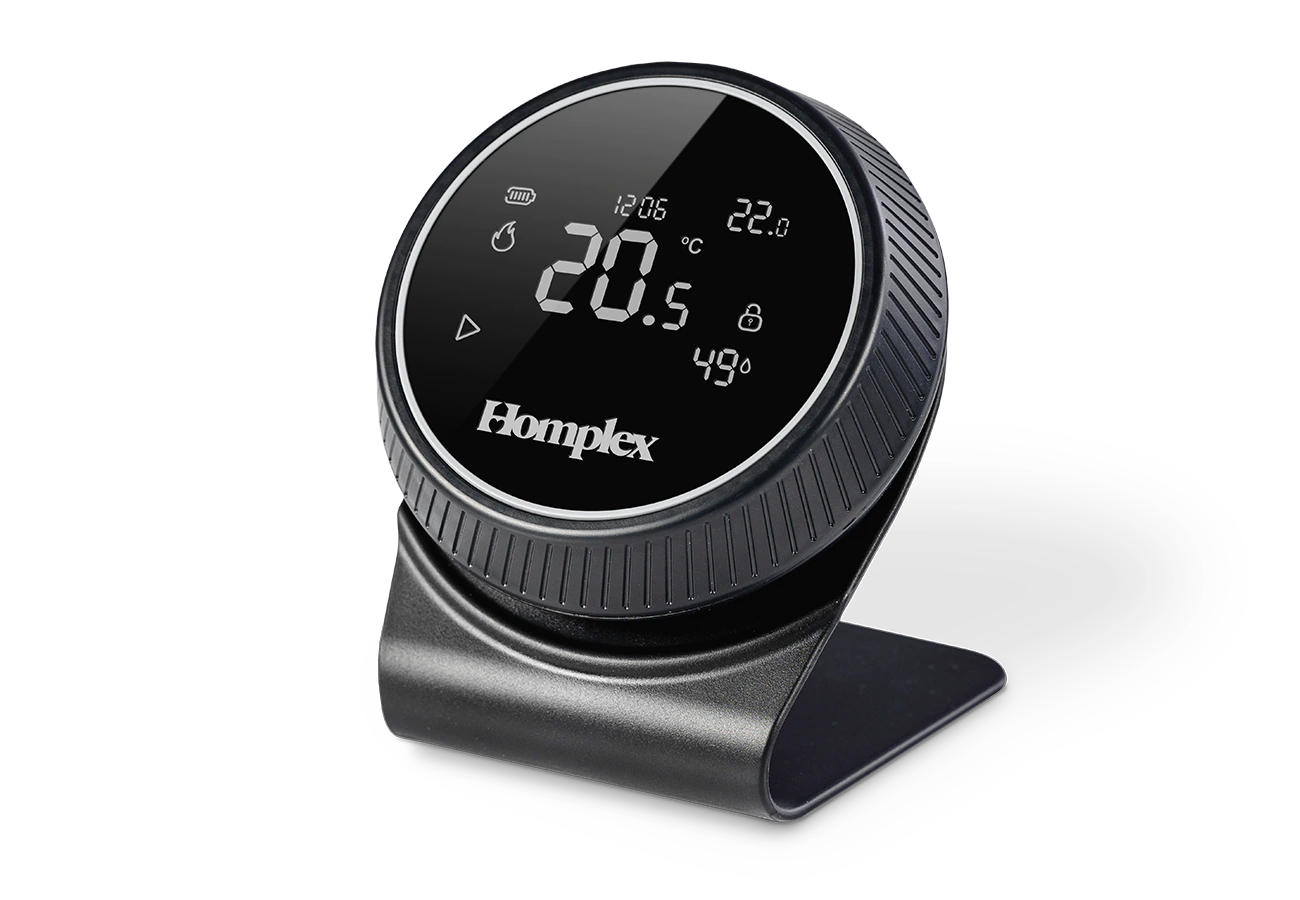
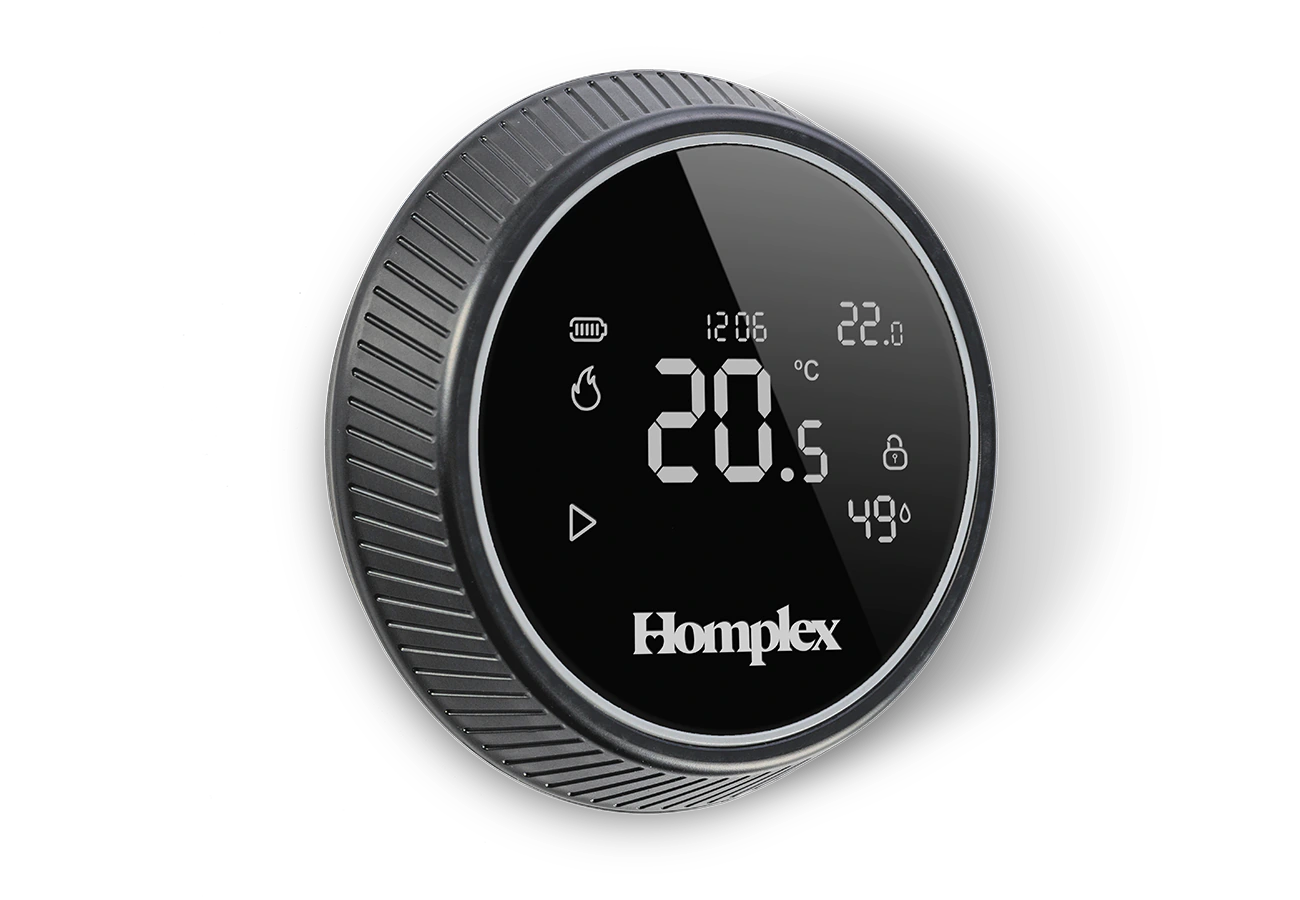
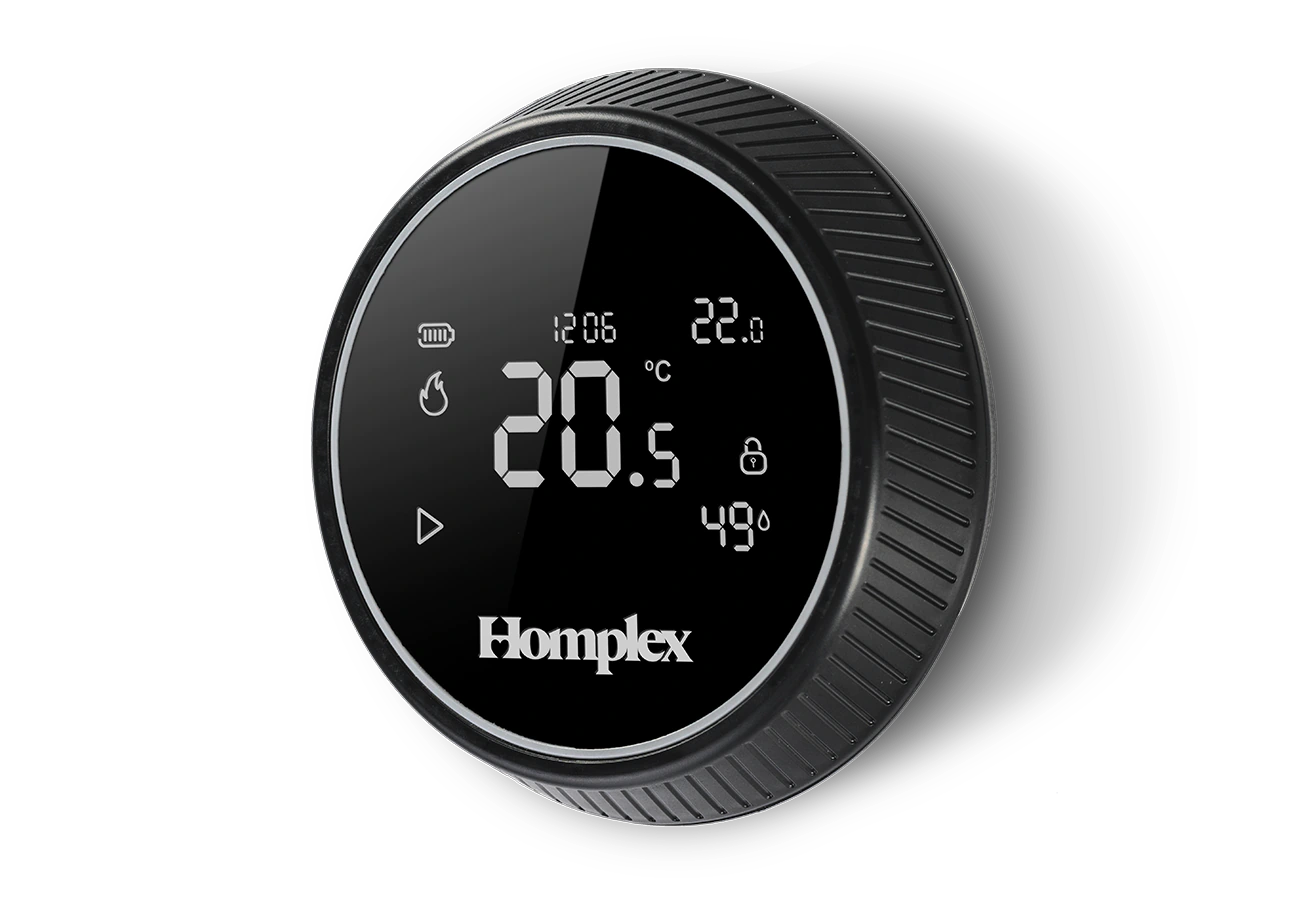
The NX1 Black Edition room thermostat keeps you connected to your home. The Homplex NX1 Black Edition has an ergonomic design that blends seamlessly into any home. Control the room temperature manually or via the Homplex mobile app, Google Home or Google Assistant!
Share Homplex NX1 with friends, optimize heating costs, maximize comfort, and your home will always welcome you with warmth!
The thermostat
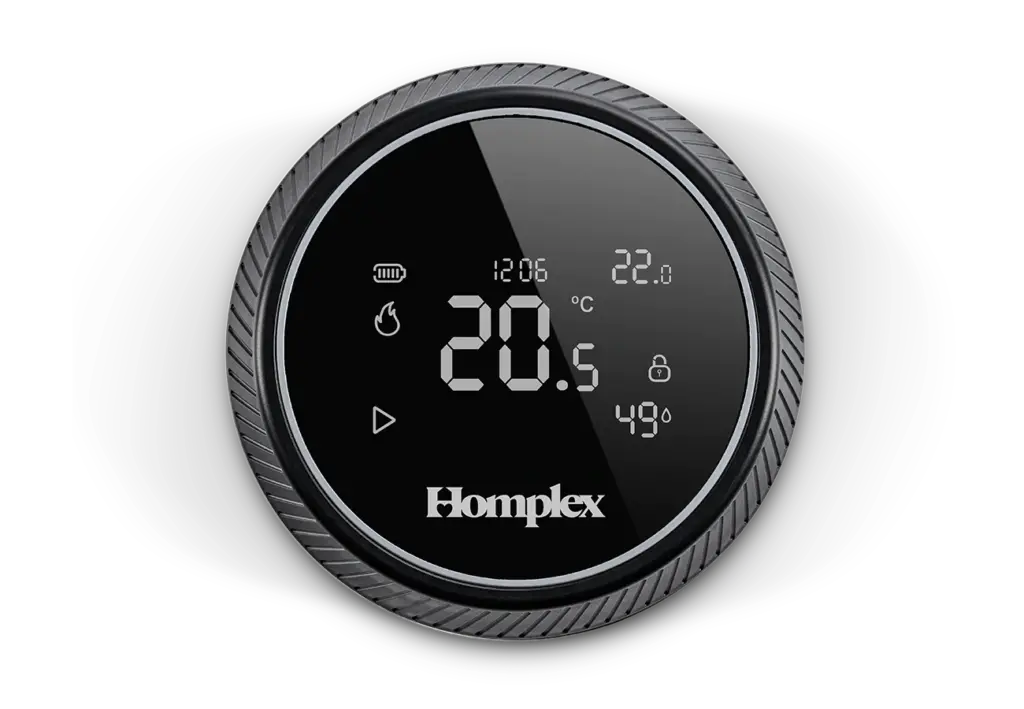
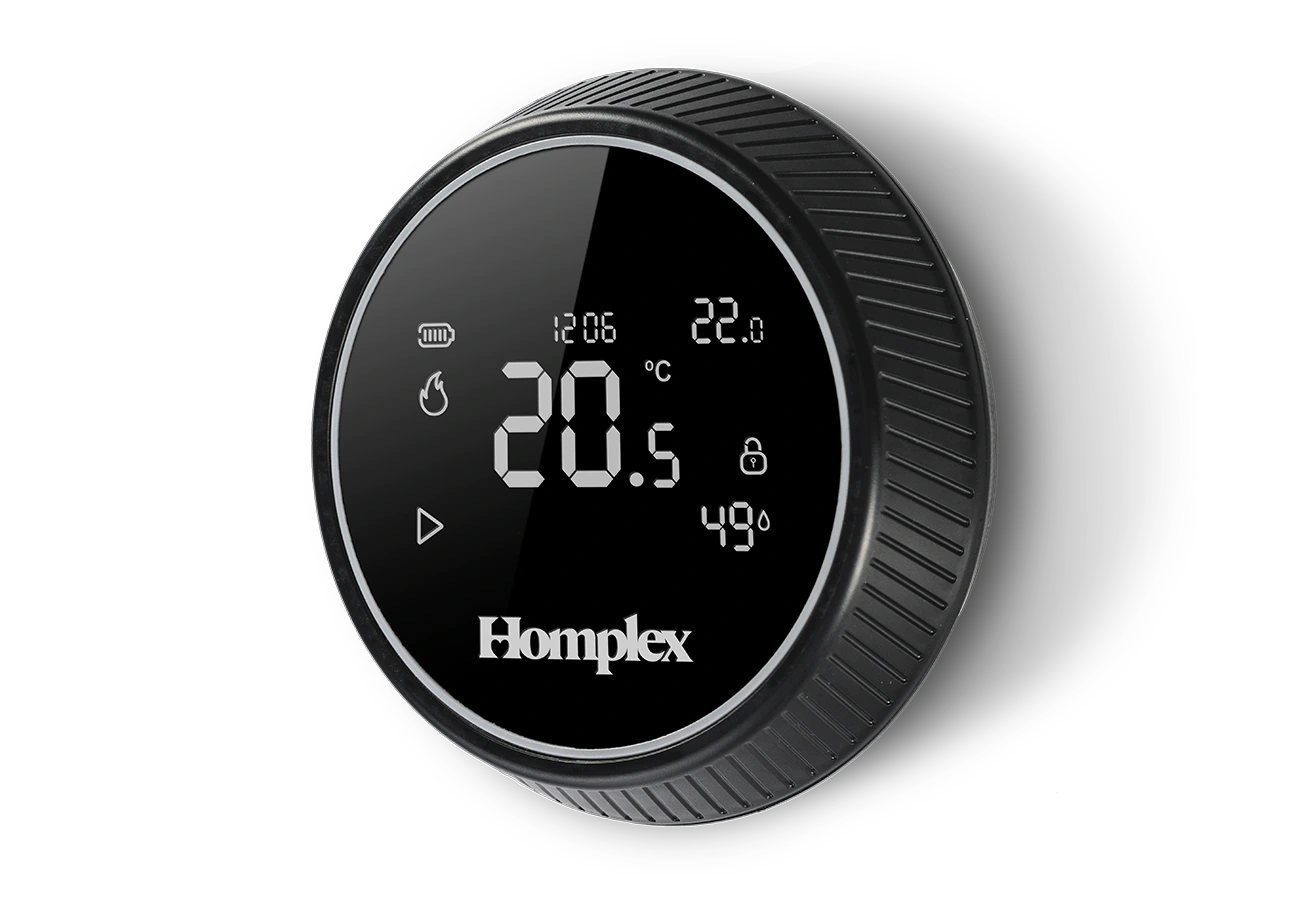
Change the temperature or navigate through settings by turning the ergonomic ring and to confirm, unlock or access the menu simply press the black dial. So simple.
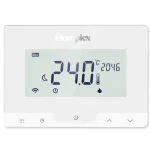
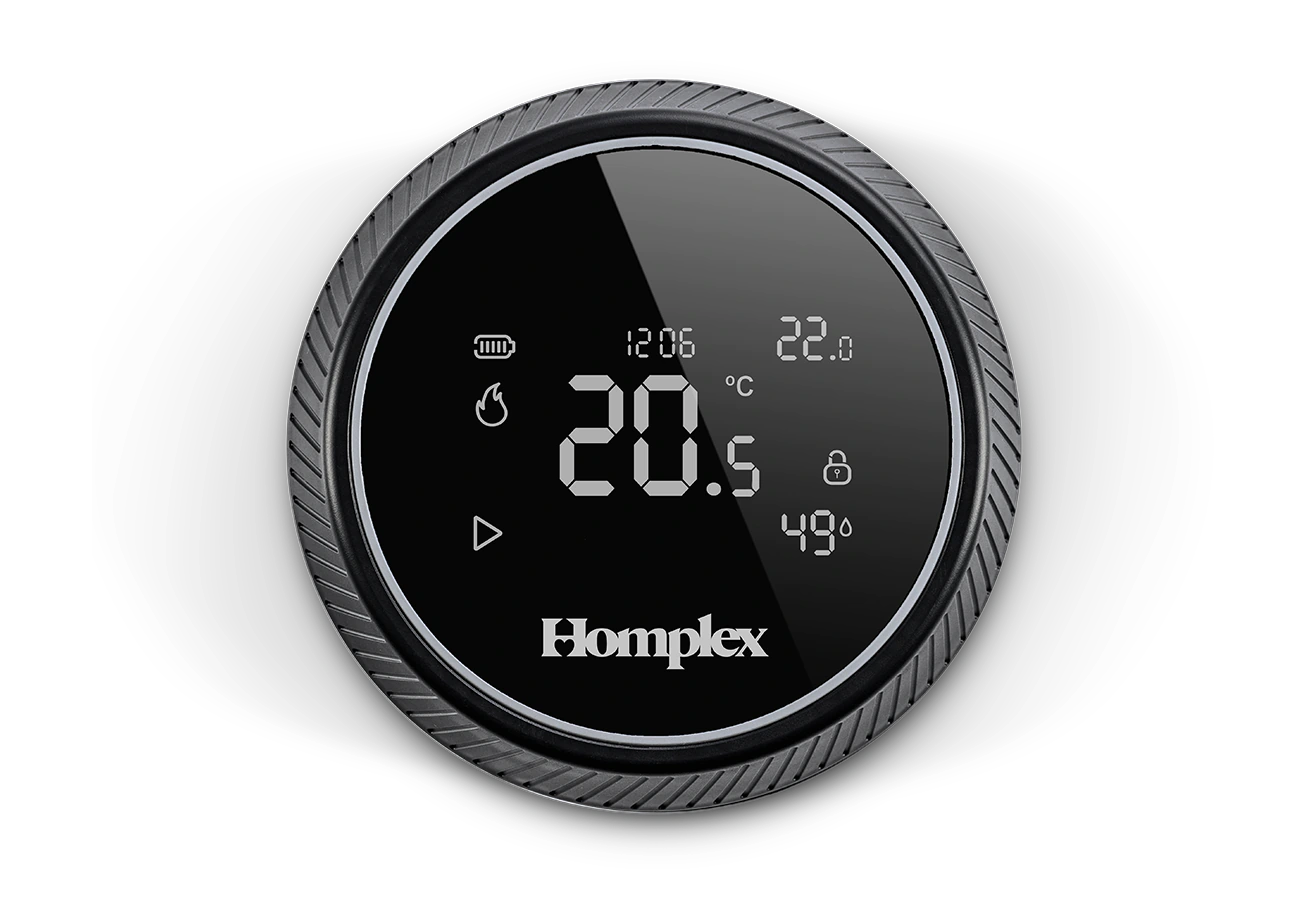
All the information you need is available at a glance. Ambient and set temperature, humidity level, time and other system details are displayed simultaneously without any further action required. After connecting the thermostat with the Homplex app, available in the AppStore or Google Play, the exact time will be automatically synchronised.
The receiver
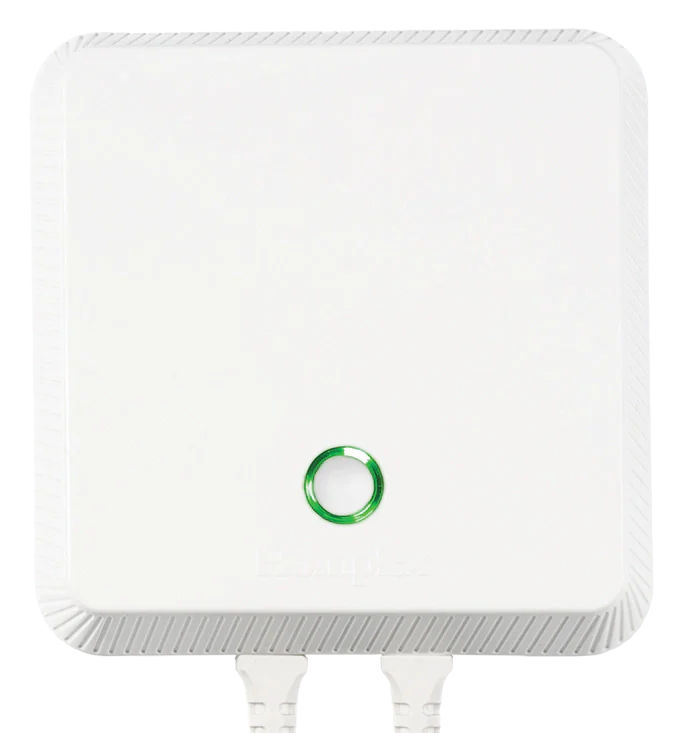
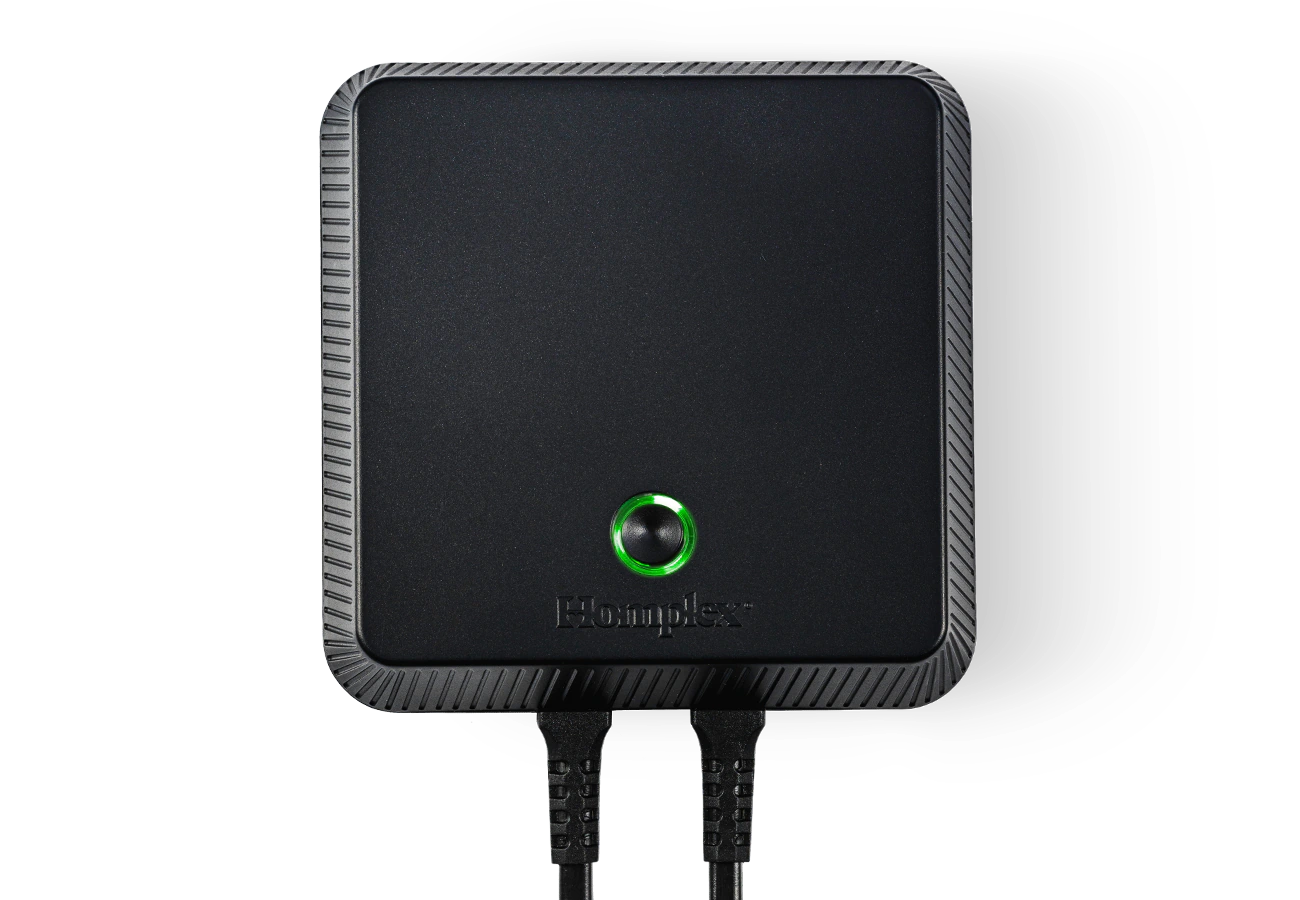
This is designed to provide the link between the thermostat, the heating system and the Homplex app (via the Internet and a Wi-Fi network). Place it next to the central heating system and connect the control cable between the receiver and the receiver port. Using the built-in relay, the receiver will turn the heating on or off. It can operate independently of the application (but without the Scheduled mode option) or completely independently by activating the manual override function.
Configuration is done with a single button and the status of the receiver is communicated by colour using the illuminated ring around it.
The Homplex app
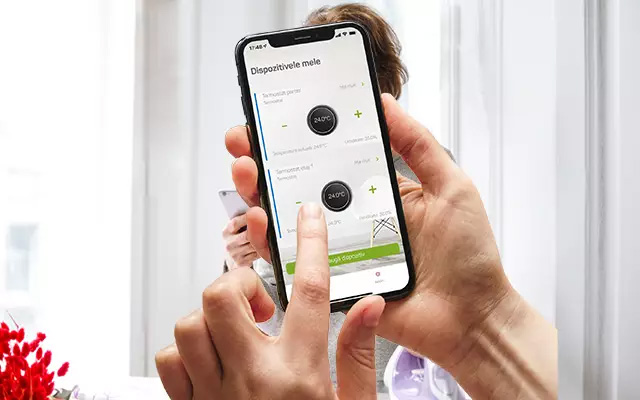
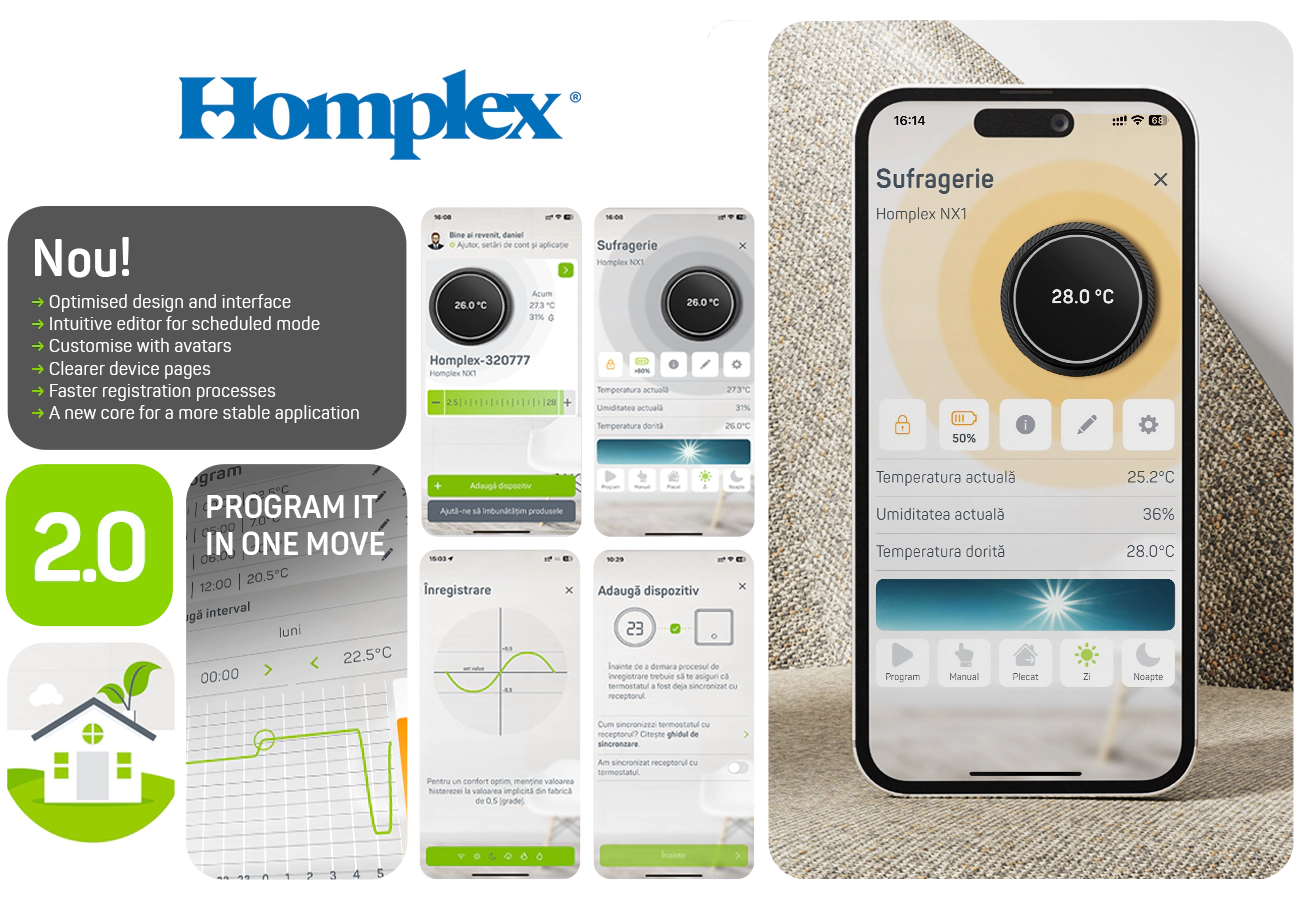
Compatible with Android and iOS operating systems, the Homplex app adds new features to your thermostat. Use Schedule mode and create complex heating scenarios with more than 10 time slots for each day. Quickly share your thermostat with loved ones and check your home ambient information anytime.
Data security is very important, so the information requested and collected is minimal but critical to the operation of the app. We use cloud management solutions in Romania in compliance with EU legislation. When installing, carefully read the Terms and Conditions to learn more.
Save time
Thermostat and receiver are factory synchronized. Just connect it to the Internet, download the Homplex app, make a user account and connect the thermostat to your Wi-Fi network.
Safety and Professionalism
All cables supplied in the package are secured with terminal pins. You eliminate the risk of a short circuit and coupling into the straps is made easy.
Everything you need for installation
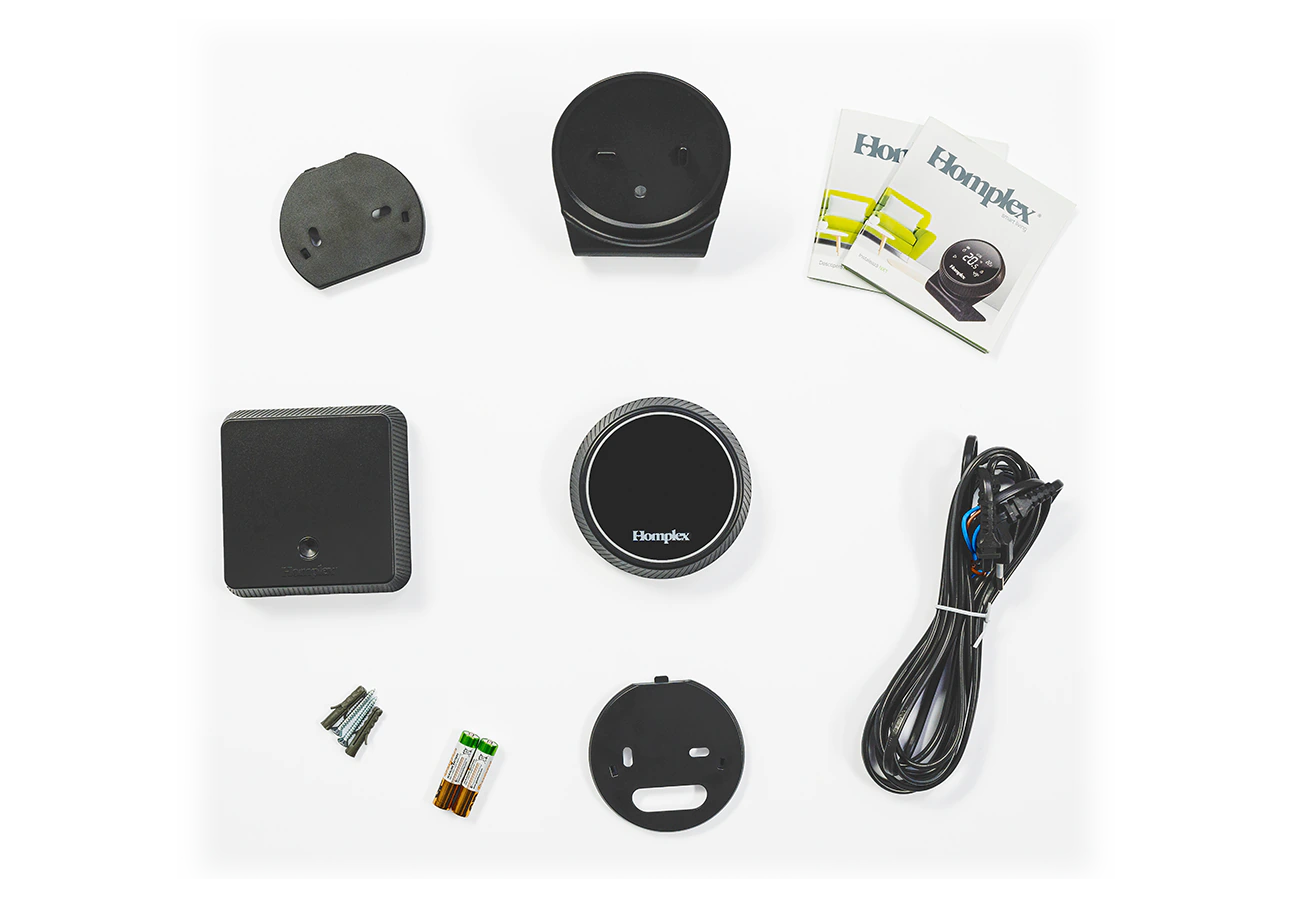
We have included batteries, dowels, the cable to connect the receiver to the central unit and detailed guides on how to install and use the thermostat as standard.
Simple and intuitive
Adjust settings with the rotary ring and press the screen to confirm. Change the temperature easily and intuitively or navigate the thermostat menu with a few gestures.
Large illuminated display with all the information that matters. No complicated buttons and convoluted menus.
Extremely easy to use, from small to large! Everyone in the family will be able to use it from the first moment.
Humidity under control
Homplex is the first thermostat company in Romania to introduce humidity measurement as a default option in a thermostat.
Take advantage of the installed humidity sensor and periodically check the humidity level in your home/room without having to use additional instruments.
Near where you need it
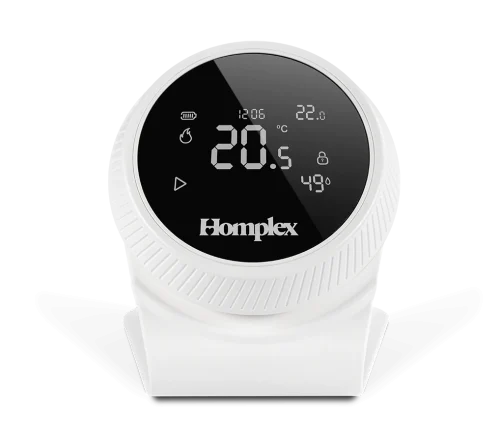
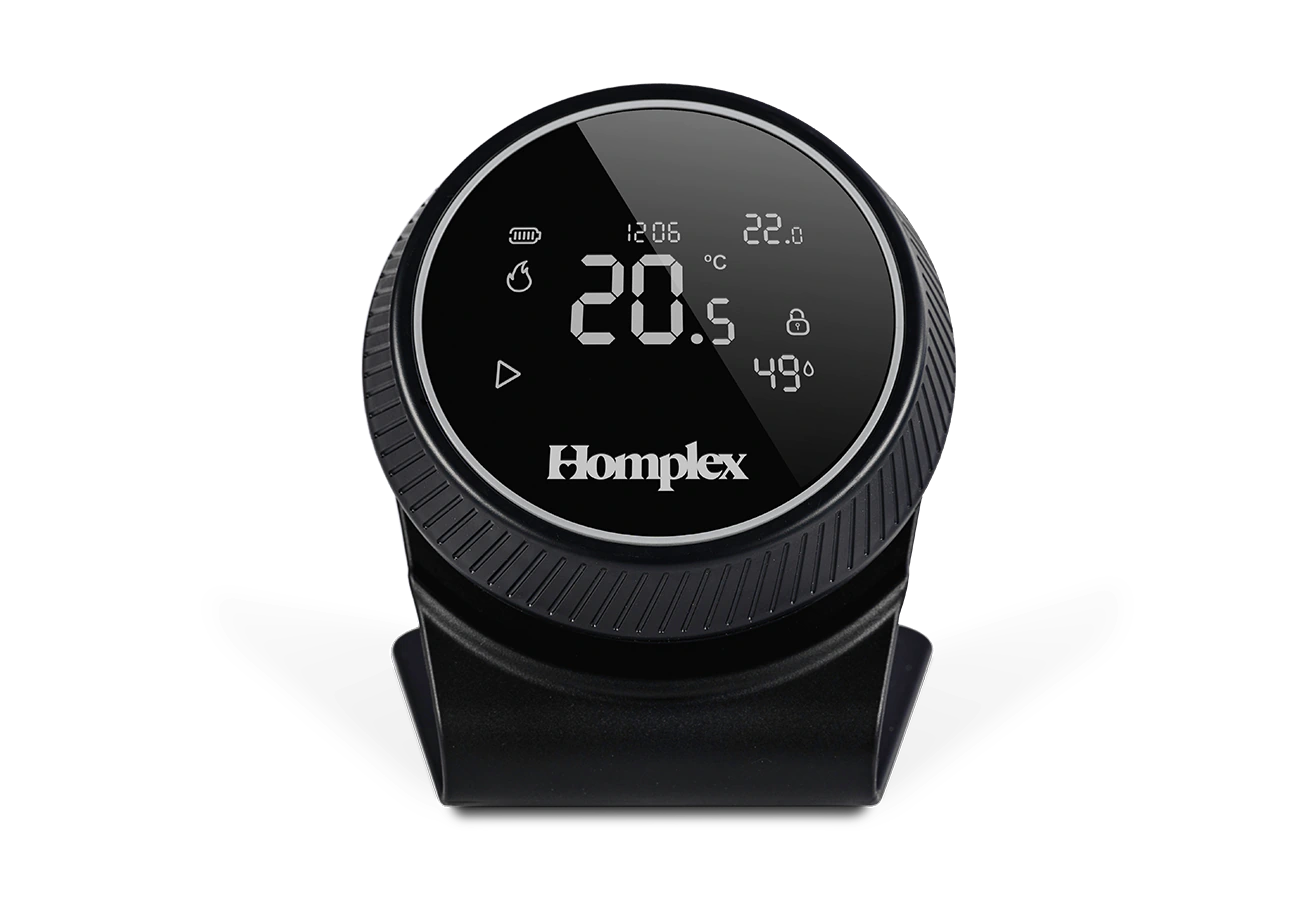
Use the stand and keep it next to you anywhere in the house or mount it on the wall if you wish. Whatever you decide, it will be noticed immediately.
Modern design, comfort upgrade
Designed for the residential environment, the Homplex NX1 smart thermostat integrates perfectly with all interior design styles.
Choose from 3 available colour versions: Black Edition, Graphite Gray or Cream White. You’ll discover a thermostat to suit the unique style of your home!
y or Cream White. You’ll discover a thermostat to suit the unique style of your home!
Informations
Functions
Specifications
Associated Files
Frequent questions
How do I add the thermostat to Google Home?
1. Open the Google Home app. If using for the first time, the app may ask you to create a location.
2. Follow the steps to create the location, for example HOME or OFFICE.
3. Click the Devices button and then the Add device button.
4. Continue and click on the Works with google Home option.
5. Choose from the list or search for Homplex.
6. The app informs you that your Homplex account needs to be connected. Click Continue to do so.
7. Add your Homplex account details (email address and password) and finally click Sign in.
8. For first time users, the application will ask for a number of permissions. Please accept them and click Submit Consent to continue.
9. After pressing the button, wait a few moments while the account is set up.
10. The app now prompts you to add the thermostat to a room (default or existing).
11. Once you have selected the thermostat, press Add to a room. Create a new room or choose one from the list.
12. Wait a moment for confirmation that the thermostat has has been added to the selected house/room.
13. Press Done.
Why is "ER01" flashing on the Homplex NX1 screen?
Why does the Homplex NX1 display the message "Er02"?
What can I do when the Homplex NX1 thermostat won't start?
The Homplex NX1 thermostat is not displaying the temperature correctly, what is the solution?
What can I do when the Homplex thermostat is too sensitive or reacts slowly?
The Homplex NX1 room thermostat does not react to commands, what could be the cause?
Why doesn't the NX1 thermostat react to in-app commands?
Why does the programmable thermostat display the alert signal and the signal symbol flashes?
Does the Homplex NX1 thermostat indicate that it is heating, but the central unit won't start?
How do I pair the thermostat with the Homplex NX1 receiver?
1. Short press to activate the thermostat.
2. Long press to access the settings menu.
3. Turn the ring to navigate to page 2.
4. Short press and turn the ring to position 1 to activate advanced settings.
5. Short press to return to the menu.
6. Turn the ring and navigate to page 4.
7. Short press to activate search mode.
8. On Receiver, short press its button until the color Pink is visible.
9. Long press (1 second) to activate search mode.
10. The association should take place immediately.
How do I pair the receiver with the Homplex app for iOS?
1. In the app, from the My Devices screen, tap the Add Device button.
2. Make sure the receiver will have access to a working 2.4Ghz wi-fi network with internet access.
3. Press the Next button.
4. Enter the name of the 2.4GHz wi-fi network to which the Receiver will permanently connect. The name must be exactly as defined in the router settings.
5. Add the password of the wi-fi network where the receiver will be permanently connected.
6. Pay attention to special characters to be entered correctly.
7. On Receiver, activates the application's record mode. Press the receiver button repeatedly until it shows the colour Blue.
8. In the Homplex app, press the Next button.
9. On Receiver, long press its button (1 second) to activate search mode (Blue colour will flash).
10. In the Homplex app, press the Next button
11. Press Wi-Fi options button. The receiver generated the Homplex wi-fi network where the phone must be connected.
12. If requested, the password for this network is Homplex8.
13. Finally, press the Next.
14. If the pairing was successful, you will receive a confirmation message.
15. Press Finish button to return to the My Devices .
If the thermostat isn't plugged in, does the heat still switch on in the radiators?
Smart thermostat Homplex NX1
- Design Modern
- On the move
- Humidity measurement
- Multiple intervals, daily!


